Mobile / Desktop Application
User guide for the features available in the mobile and desktop application.
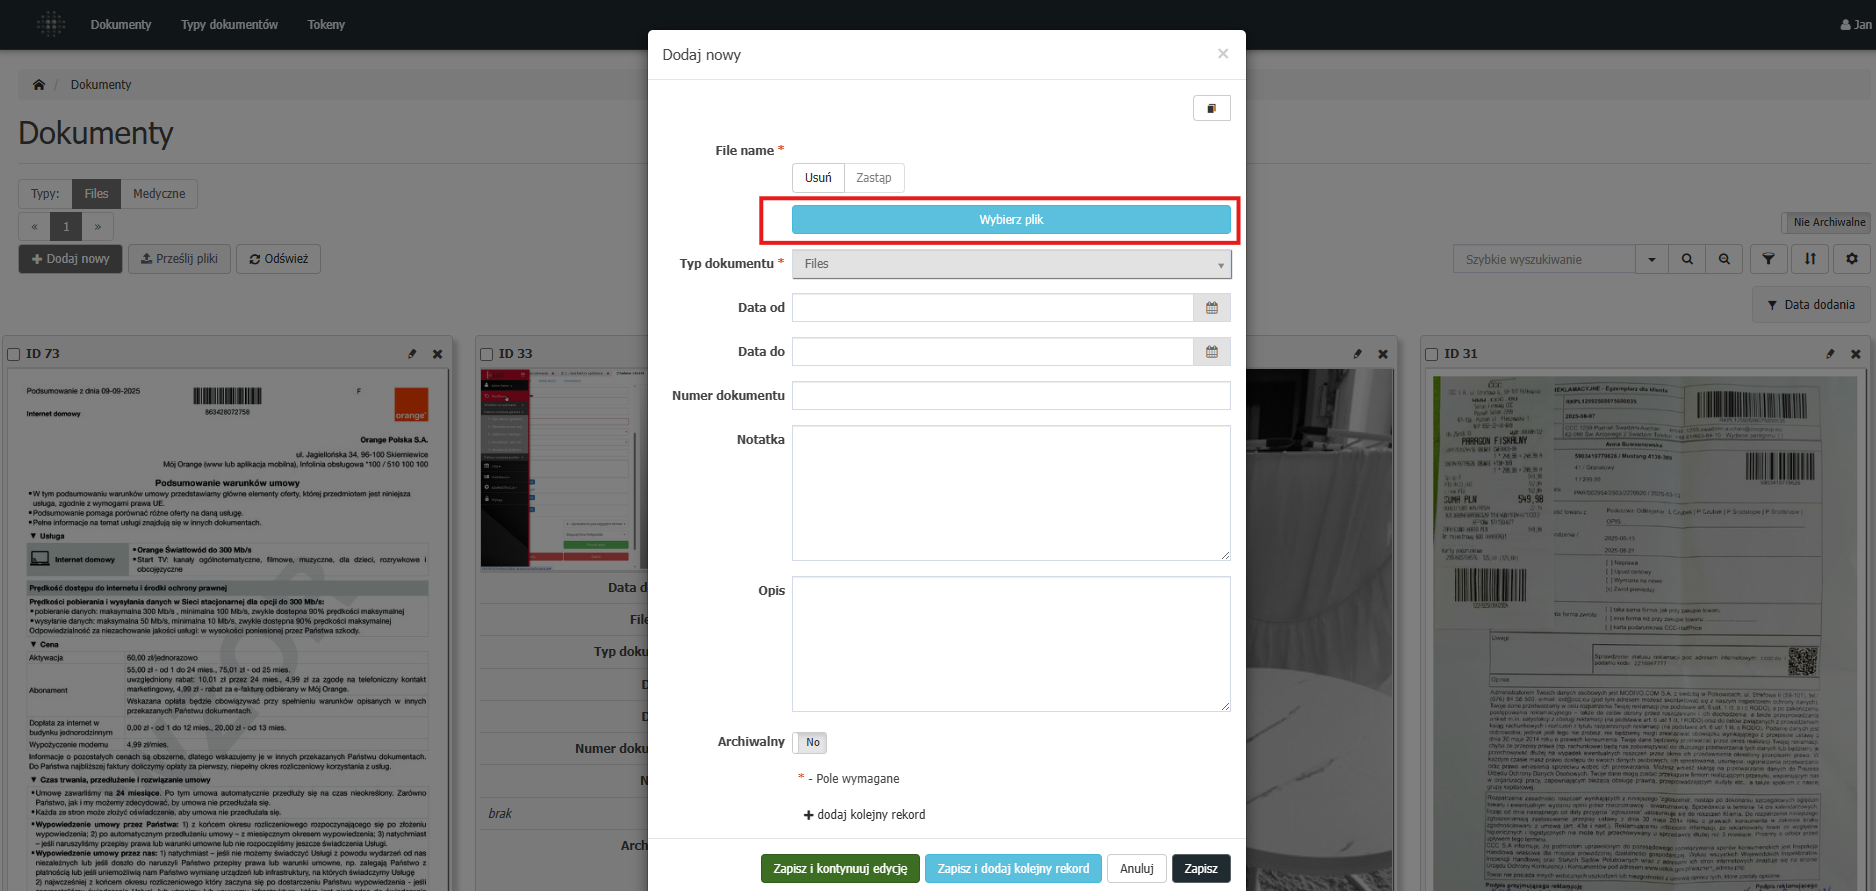
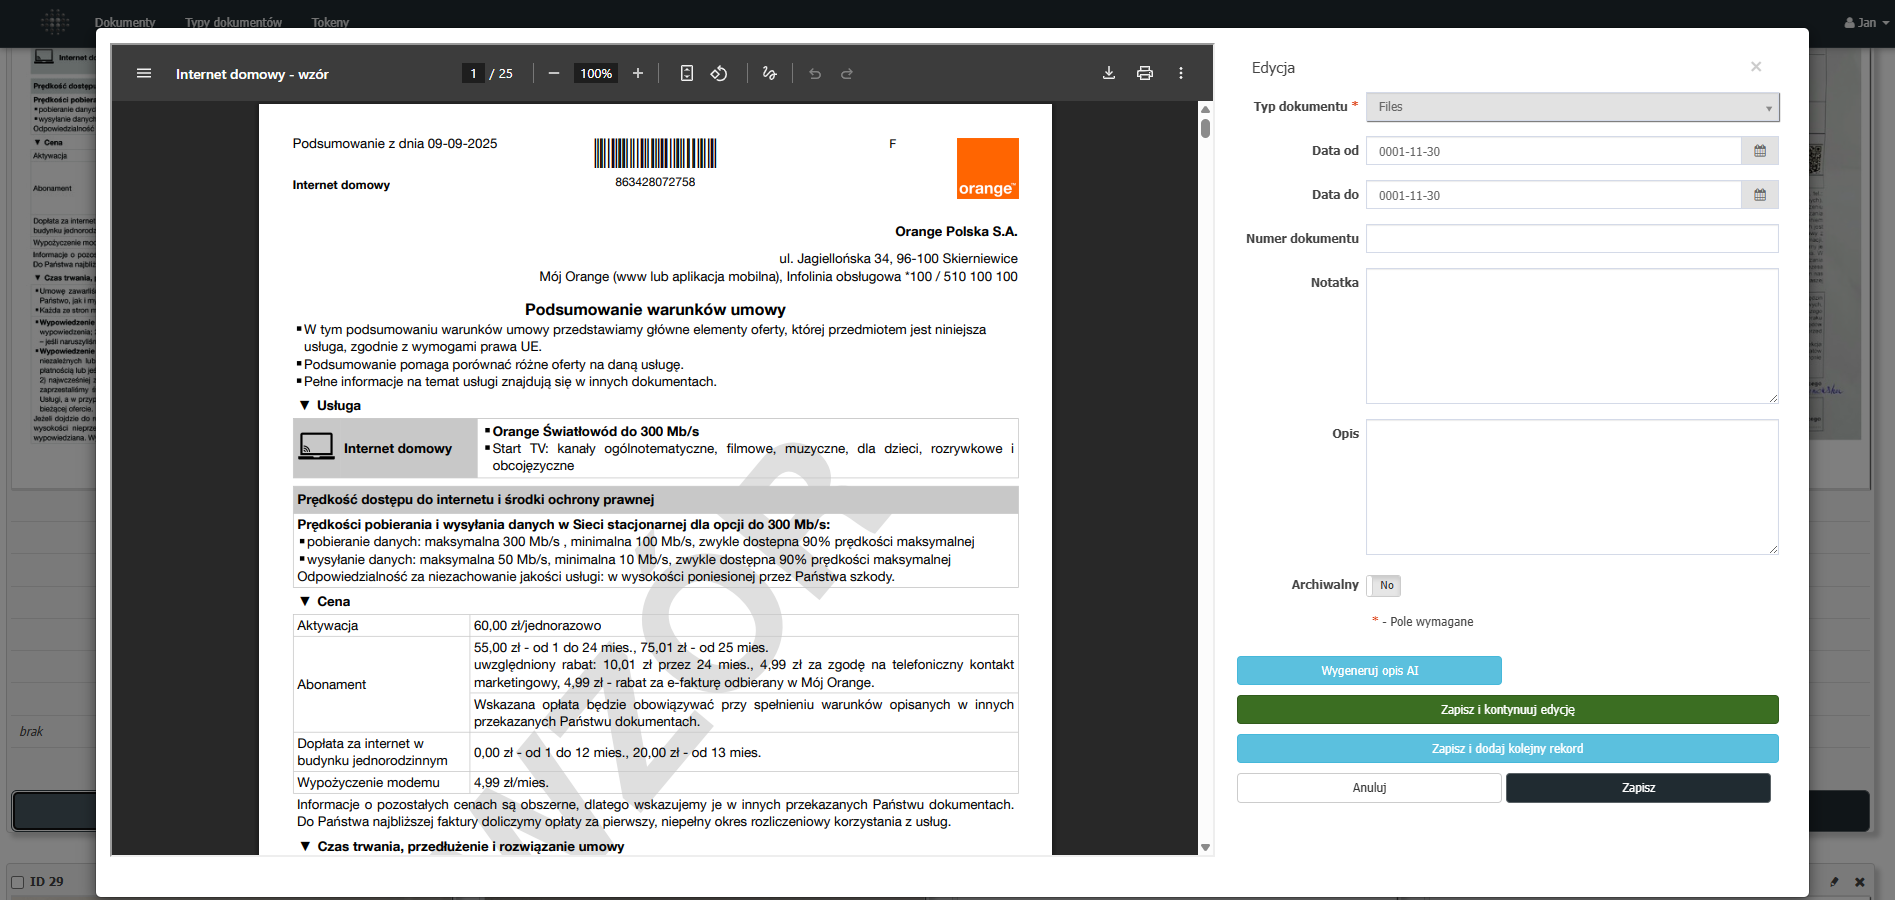
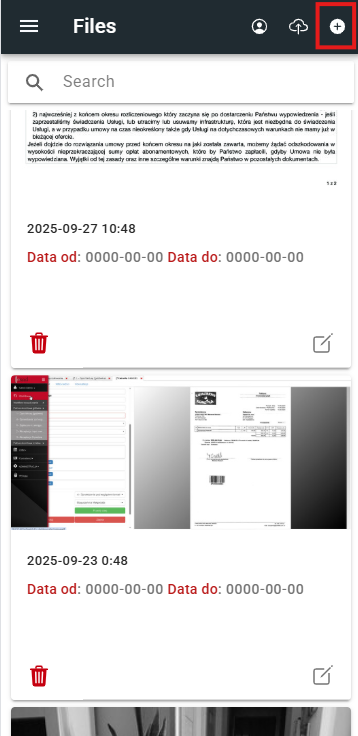
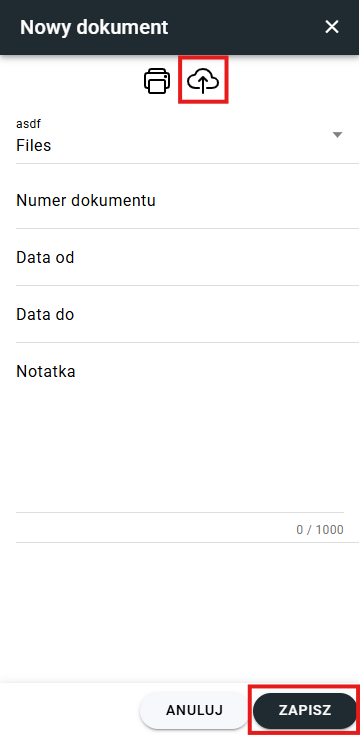
1. How to add a file
- Open the application.
- Select the document type from the menu where you want to add the file.
- Choose the source: Camera or Upload.
- Supported formats:
PDF,JPG,PNG. - For image files, you can: desaturate, crop, rotate, reorder, run OCR, and convert to PDF.
- Fill in the descriptive fields (e.g., title, date, category).
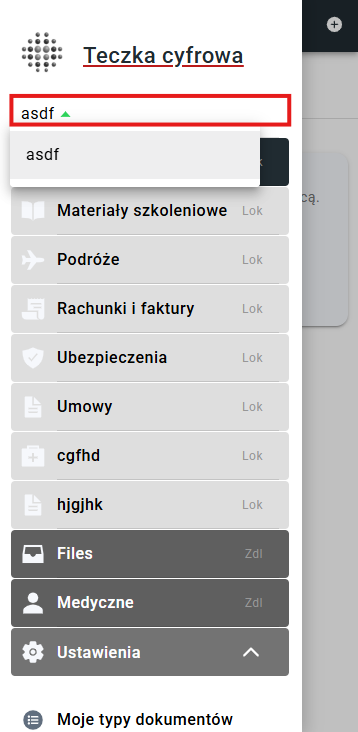
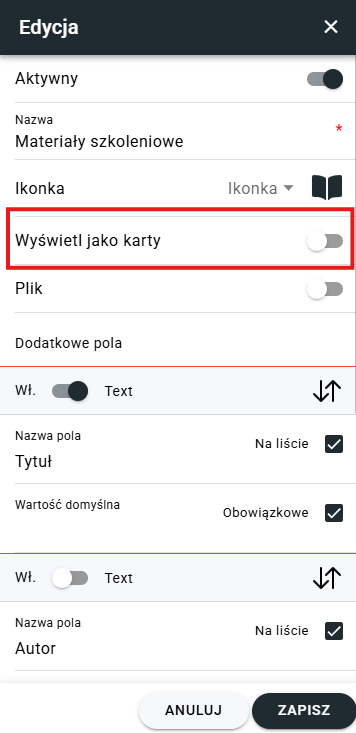
2. How to change the list display mode
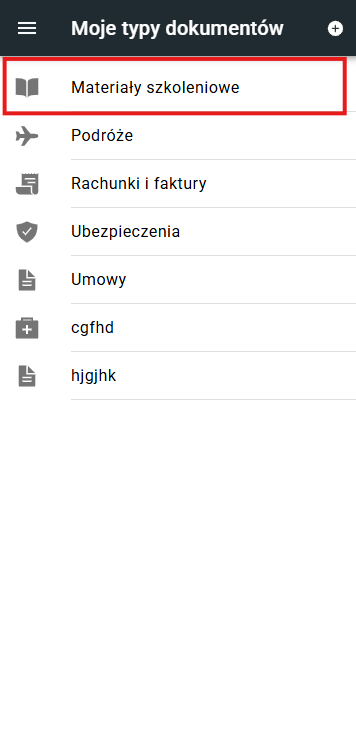
Go to: Settings → My Document Types. Select a type and check/uncheck the option Display as cards.
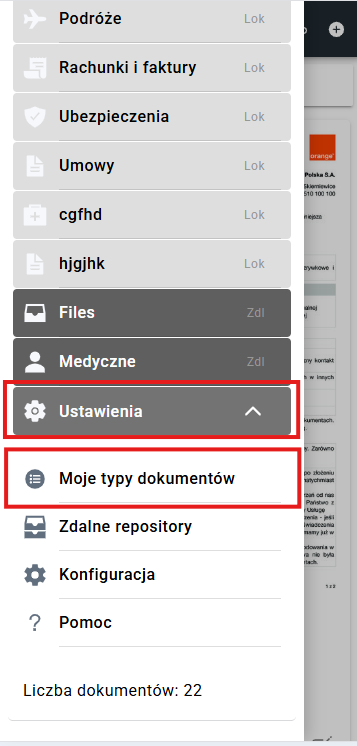

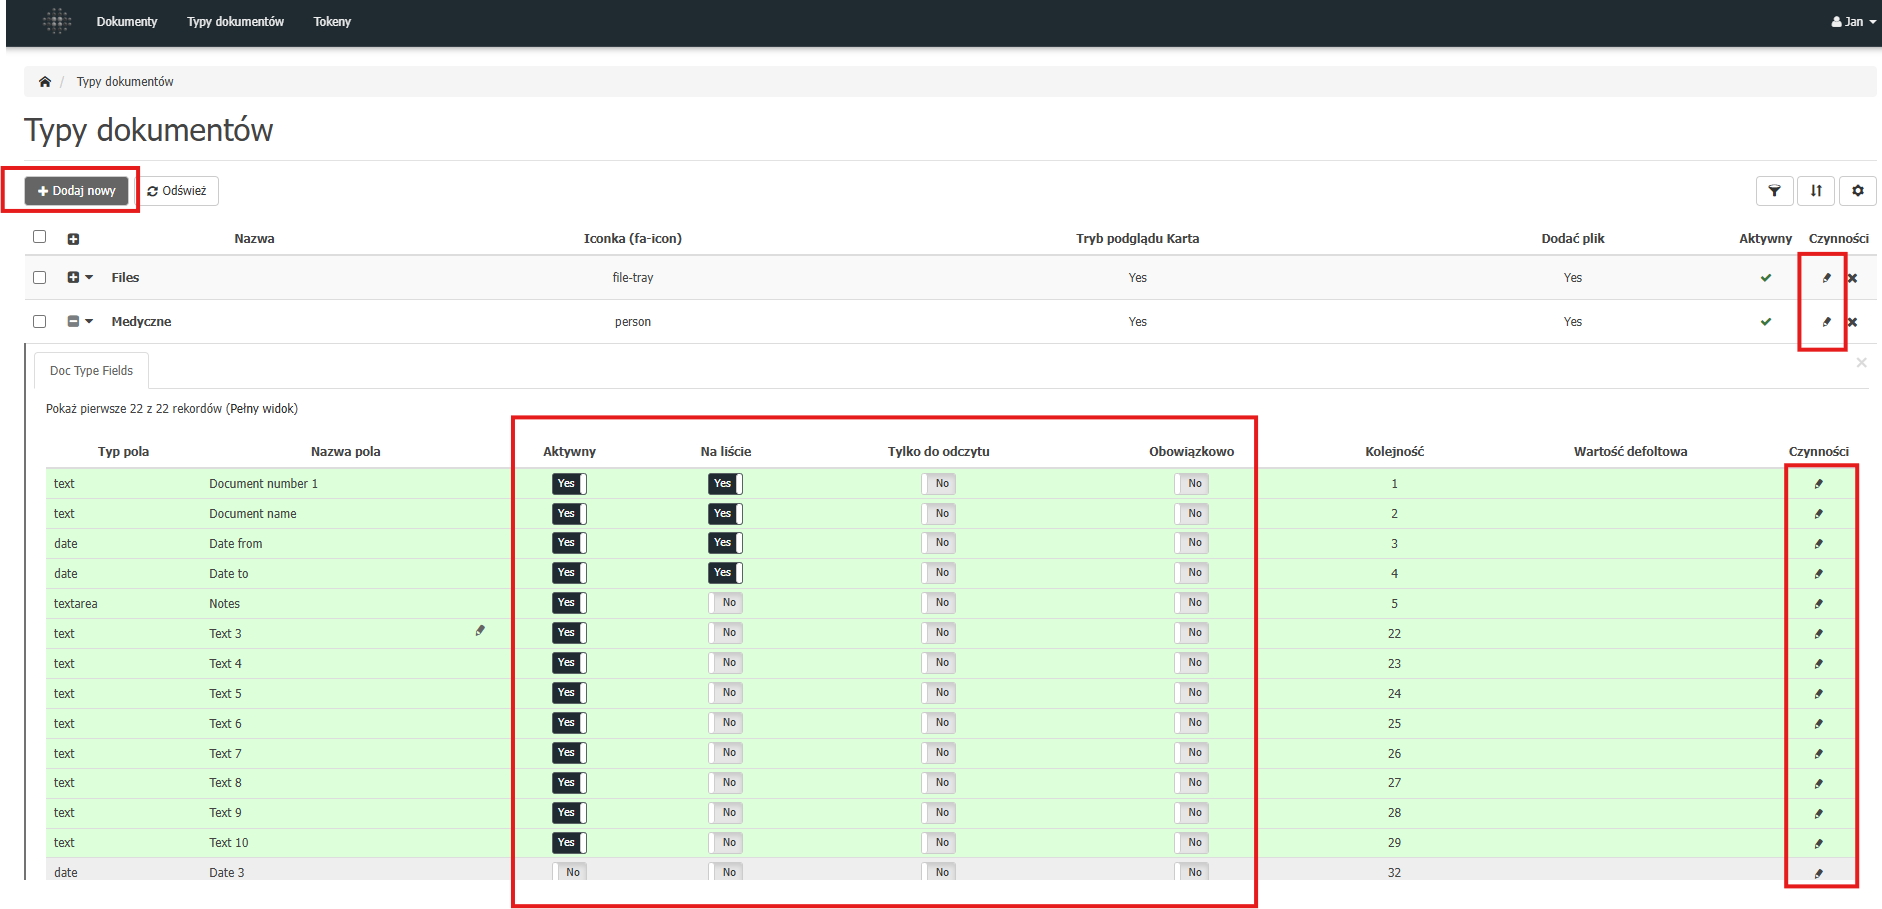
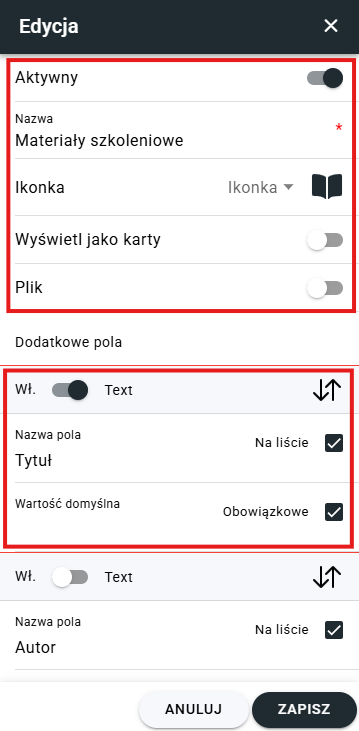
3. How to add or edit a custom document type
Go to: Settings → My Document Types. Choose Add or edit an existing type. In the edit window, you can:
- Change the name and icon,
- Set display mode (list / cards),
- Enable/disable file uploads,
- Add fields: numeric, text, date, long text, checkbox.
You can configure visibility, required status, order, and default values for each field.
For checkbox fields, default values are entered separated by commas, e.g.: Ticket,Invoice,Payment.

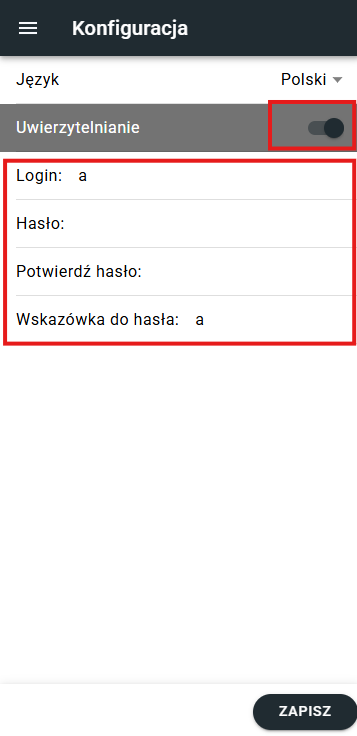
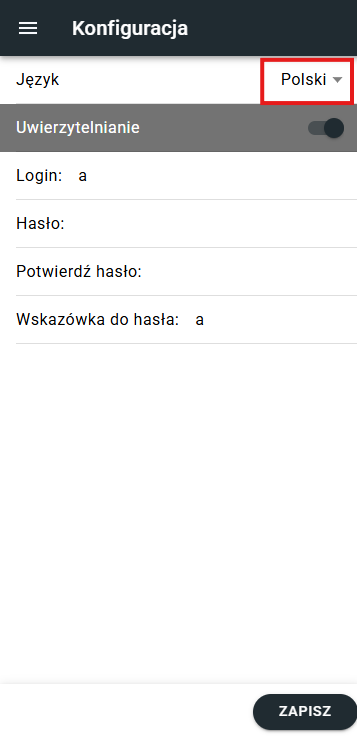
4. How to enable login for the app
Go to: Configuration → check Authentication → enter login and password.
Note: Make sure to remember your password — it cannot be recovered.

5. How to change the application language
Go to: Configuration → select a language → save changes.
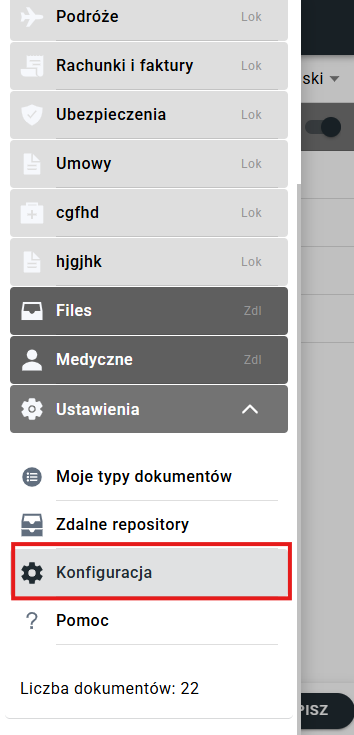
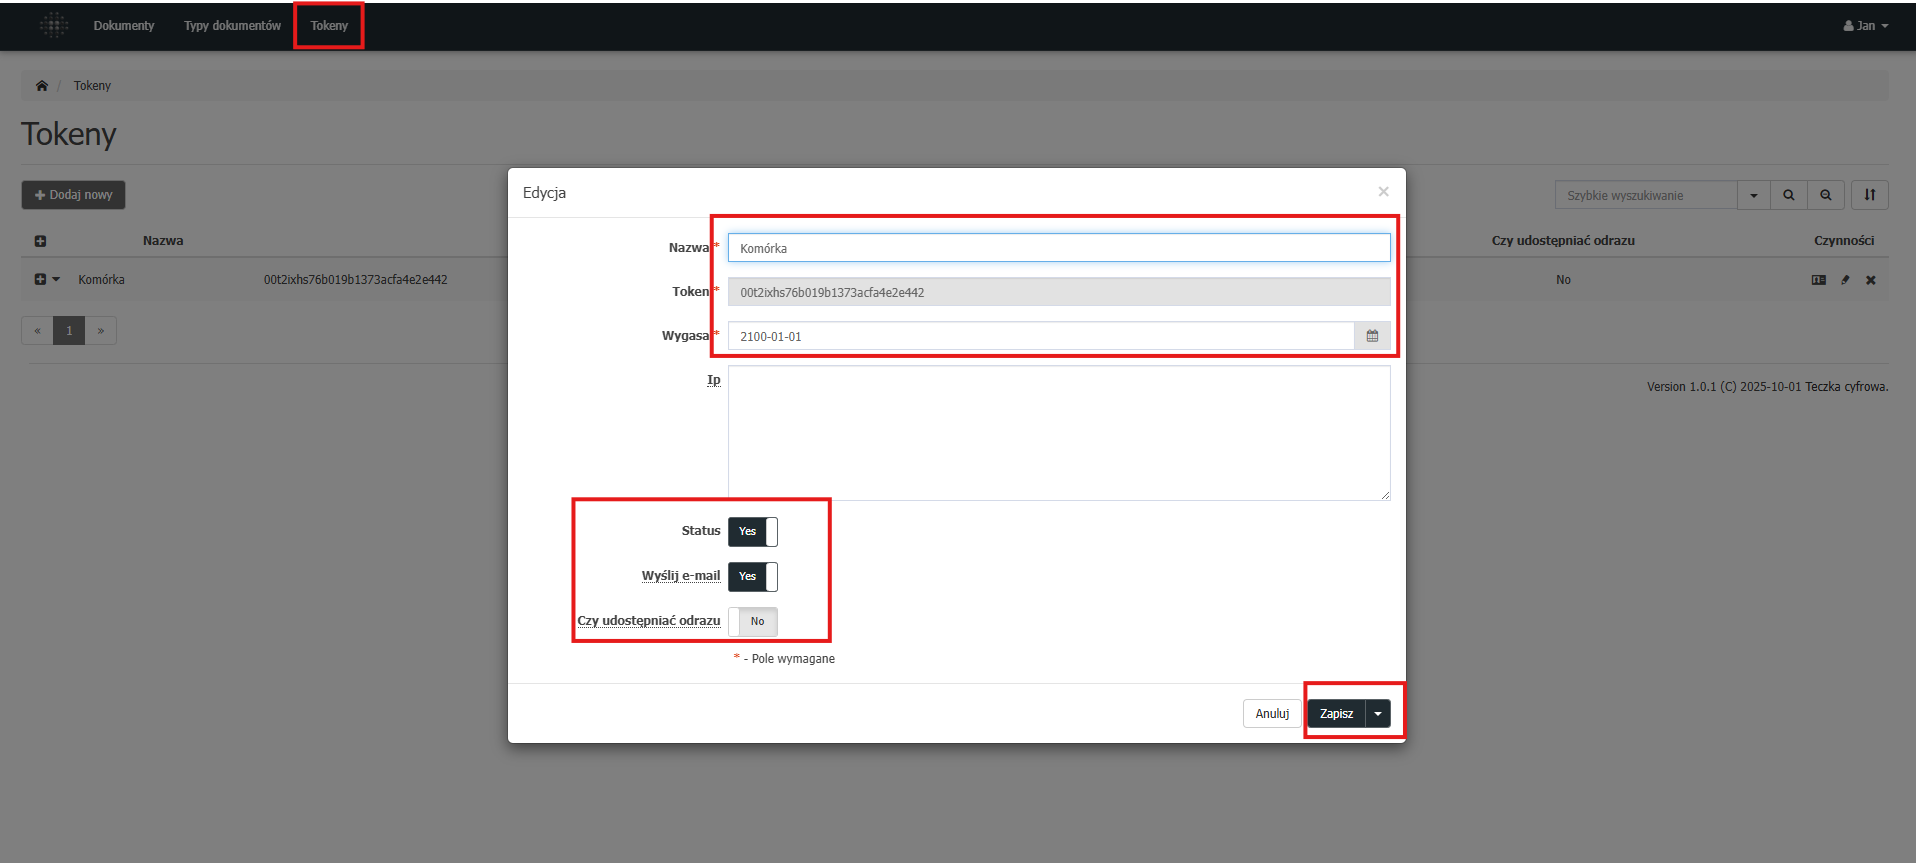
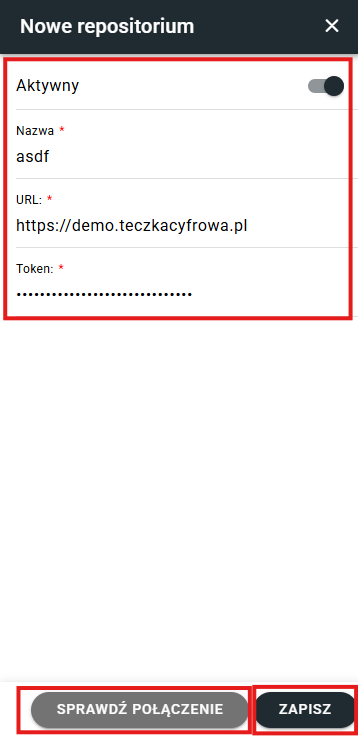
6. How to connect to a remote repository
To connect to a remote repository, you need a link and a token (provided by the administrator or institution).
- Go to: Remote Repositories → Add.
- Enter the name, link, and token.
- Check whether you want to receive push notifications.
- Test the connection using the available test option.
- Depending on the repository configuration, server-side approval may be required.
You can enable or disable repository activity in the settings panel.
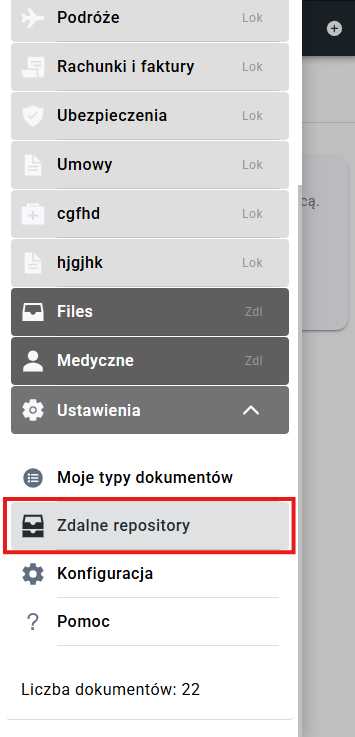
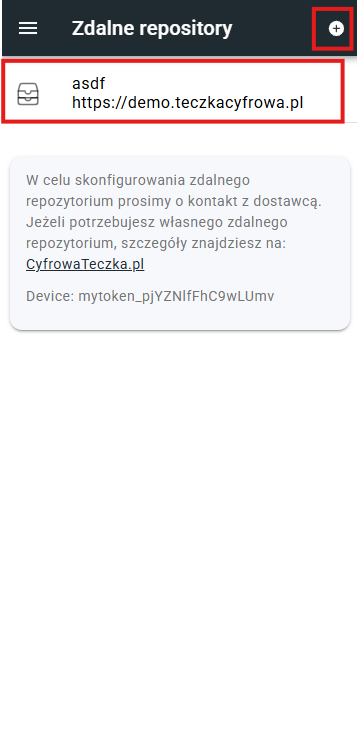
7. How to switch repositories
You can add multiple repositories. After adding them, a dropdown list will appear above the menu — select the desired repository from the list.